Computer Concepts in ActionUnit 8:
Integrated ApplicationsCreate a Business Card Using WordCreating a business card combines many of the Microsoft Word skills you have learned. In this activity, you will use text boxes, graphics, and various fonts to create your own business card.
There are many ways to present your information on a business card. You can use a template or create your own style. Figure 1 Samples of business cards using Microsoft Word templates.
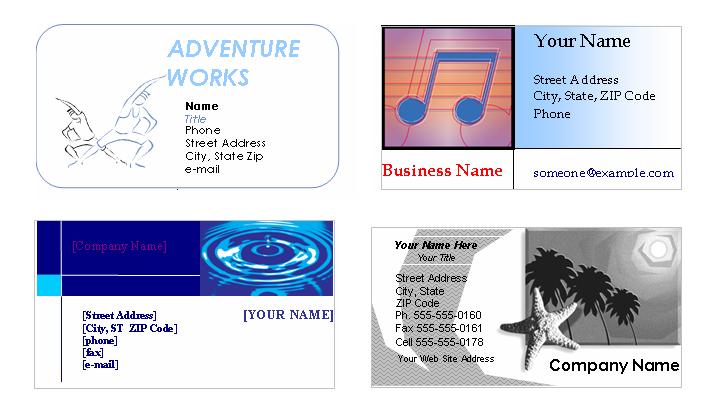 <a onClick="window.open('/olcweb/cgi/pluginpop.cgi?it=jpg::::/sites/dl/free/0078612357/271284/EA8_1_01.JPG','popWin', 'width=NaN,height=NaN,resizable,scrollbars');" href="#"><img valign="absmiddle" height="16" width="16" border="0" src="/olcweb/styles/shared/linkicons/image.gif"> (47.0K)</a> <a onClick="window.open('/olcweb/cgi/pluginpop.cgi?it=jpg::::/sites/dl/free/0078612357/271284/EA8_1_01.JPG','popWin', 'width=NaN,height=NaN,resizable,scrollbars');" href="#"><img valign="absmiddle" height="16" width="16" border="0" src="/olcweb/styles/shared/linkicons/image.gif"> (47.0K)</a> Whichever style of business card you choose, make sure your business card includes the following elements: Figure 2 Business Card Requirements
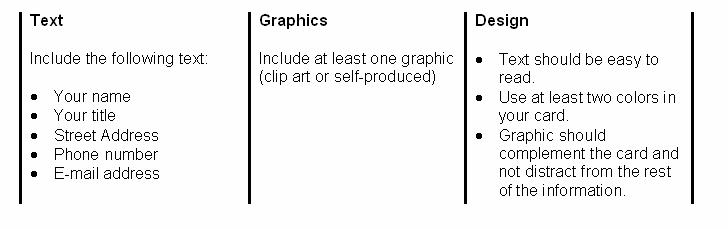 <a onClick="window.open('/olcweb/cgi/pluginpop.cgi?it=jpg::::/sites/dl/free/0078612357/271284/EA8_1_02.JPG','popWin', 'width=NaN,height=NaN,resizable,scrollbars');" href="#"><img valign="absmiddle" height="16" width="16" border="0" src="/olcweb/styles/shared/linkicons/image.gif"> (27.0K)</a> <a onClick="window.open('/olcweb/cgi/pluginpop.cgi?it=jpg::::/sites/dl/free/0078612357/271284/EA8_1_02.JPG','popWin', 'width=NaN,height=NaN,resizable,scrollbars');" href="#"><img valign="absmiddle" height="16" width="16" border="0" src="/olcweb/styles/shared/linkicons/image.gif"> (27.0K)</a> - Start Microsoft Word. Open a new document.
- Create a one-row, two-column table. Make the table 3.5” wide x 2” tall.
- First, sketch a design on paper. Decide on the general layout of the card.
- Find a piece of clip art or other image and place it in your card. To insert clip art, select Insert, choose Picture, and click Clip Art.
- Resize the graphic to fit your design.
- Insert a text box for your contact information. To insert a text box, click the Text Box button on the Drawing Toolbar.
- To remove the text box background, double-click on the text box and increase Transparency to 100%.
- Type your information (name, title, etc.) in the text box.
- To add shapes, use the Drawing Toolbar.
- To add color, select the shape and click the Fill Color drop-down menu.
- When you are finished with your card, Group the card together. On the Drawing Toolbar, click the Select Objects arrow, select all of the pieces of the card, and click Draw then Group.
- Save your work as Your Name Business Card. Ask your teacher where to save the file.
- If you want to print multiple copies of your business card, copy and paste your card. (Eight cards will fit on one letter-sized piece of paper.) Ask your teacher for permission to print the card.
- Exit Microsoft Word.
 |