Computer Concepts in ActionUnit 7:
PresentationsApply Borders and Shading to Elements of a SlidePowerPoint makes it easy to create a presentation, but the more time and attention that goes into the show, the more effective it will be. Adding details to your slides can help make your presentation make a better impact. After you have added elements to a slide, there are a variety of ways to make them look memorable.
- If it is not already open, open your SUV Sales presentation. In the second slide, click Major Selling Points.
- Click the Shadow Style button on the Drawing toolbar, and then click Shadow Settings. The Shadow Setting toolbar opens.
- On the Shadow Settings toolbar, click the Shadow On/Off button.
- Click the drop-down arrow next to the Shadow Color button. Select black.
- Close the Shadow Settings toolbar.
- Click in the slide to deselect the text.
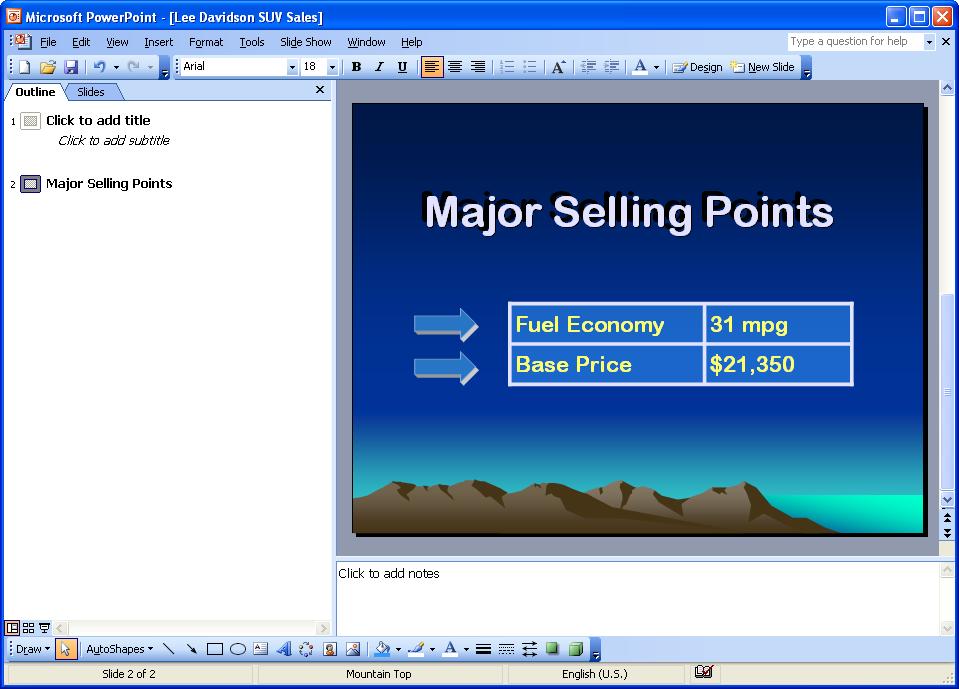
- Major Selling Points now has a distinctive shadow.
- Select the border of the table.
- Right-click your mouse and select Borders and Fill. The Format Table box will open.
- Click the Fill tab.
- Click the Fill Color checkbox. Or, select Automatic in the pull-down color menu.
- Click the Semitransparent checkbox.
- Close the Format Table box and deselect the box by clicking anywhere on the slide. Your slide should look like Figure 1.
 <a onClick="window.open('/olcweb/cgi/pluginpop.cgi?it=jpg::::/sites/dl/free/0078612357/271283/EA7_2_01.JPG','popWin', 'width=NaN,height=NaN,resizable,scrollbars');" href="#"><img valign="absmiddle" height="16" width="16" border="0" src="/olcweb/styles/shared/linkicons/image.gif"> (84.0K)</a> <a onClick="window.open('/olcweb/cgi/pluginpop.cgi?it=jpg::::/sites/dl/free/0078612357/271283/EA7_2_01.JPG','popWin', 'width=NaN,height=NaN,resizable,scrollbars');" href="#"><img valign="absmiddle" height="16" width="16" border="0" src="/olcweb/styles/shared/linkicons/image.gif"> (84.0K)</a>
Figure 1 Color the table.
- Save your file and continue to the next activity.
 |